

Early work on the paint scheme, you will see what a difference finding images on line made in getting the colors right for this model.
Sometimes the most challenging thing a modeler has to do, is bring to life the kit he, or she has bought. The kit will come with decals, a paint scheme and occasionally more than one paint scheme for the completed kit, and parts.
However if the paint scheme or decals are less than exciting in stirring the soul of the modeler, the kit will just sit there, and it may not be built for several weeks, months and worse case situation years.
The first thing I do, after making sure all the parts are in the kit, is go on line and begin to look for both unique paint schemes as well as details and information to make my model come to life. I can hear someone now asking, why information what difference is it what unit or squadron a tank, aircraft ship or figure represents?
Well it doesn't matter so much about a squadron or unit so much; however sometimes an aircraft, say the B-24 Liberator, may have been painted with orange and green stripes on the wing and fuselage. Yet there may have been a B-24 that had bright colored circles of Red and Yellow and Blue.
The point being, if I only went with the first paint scheme out of the box, I very well may have been bored with it and it would sit around collecting dust.
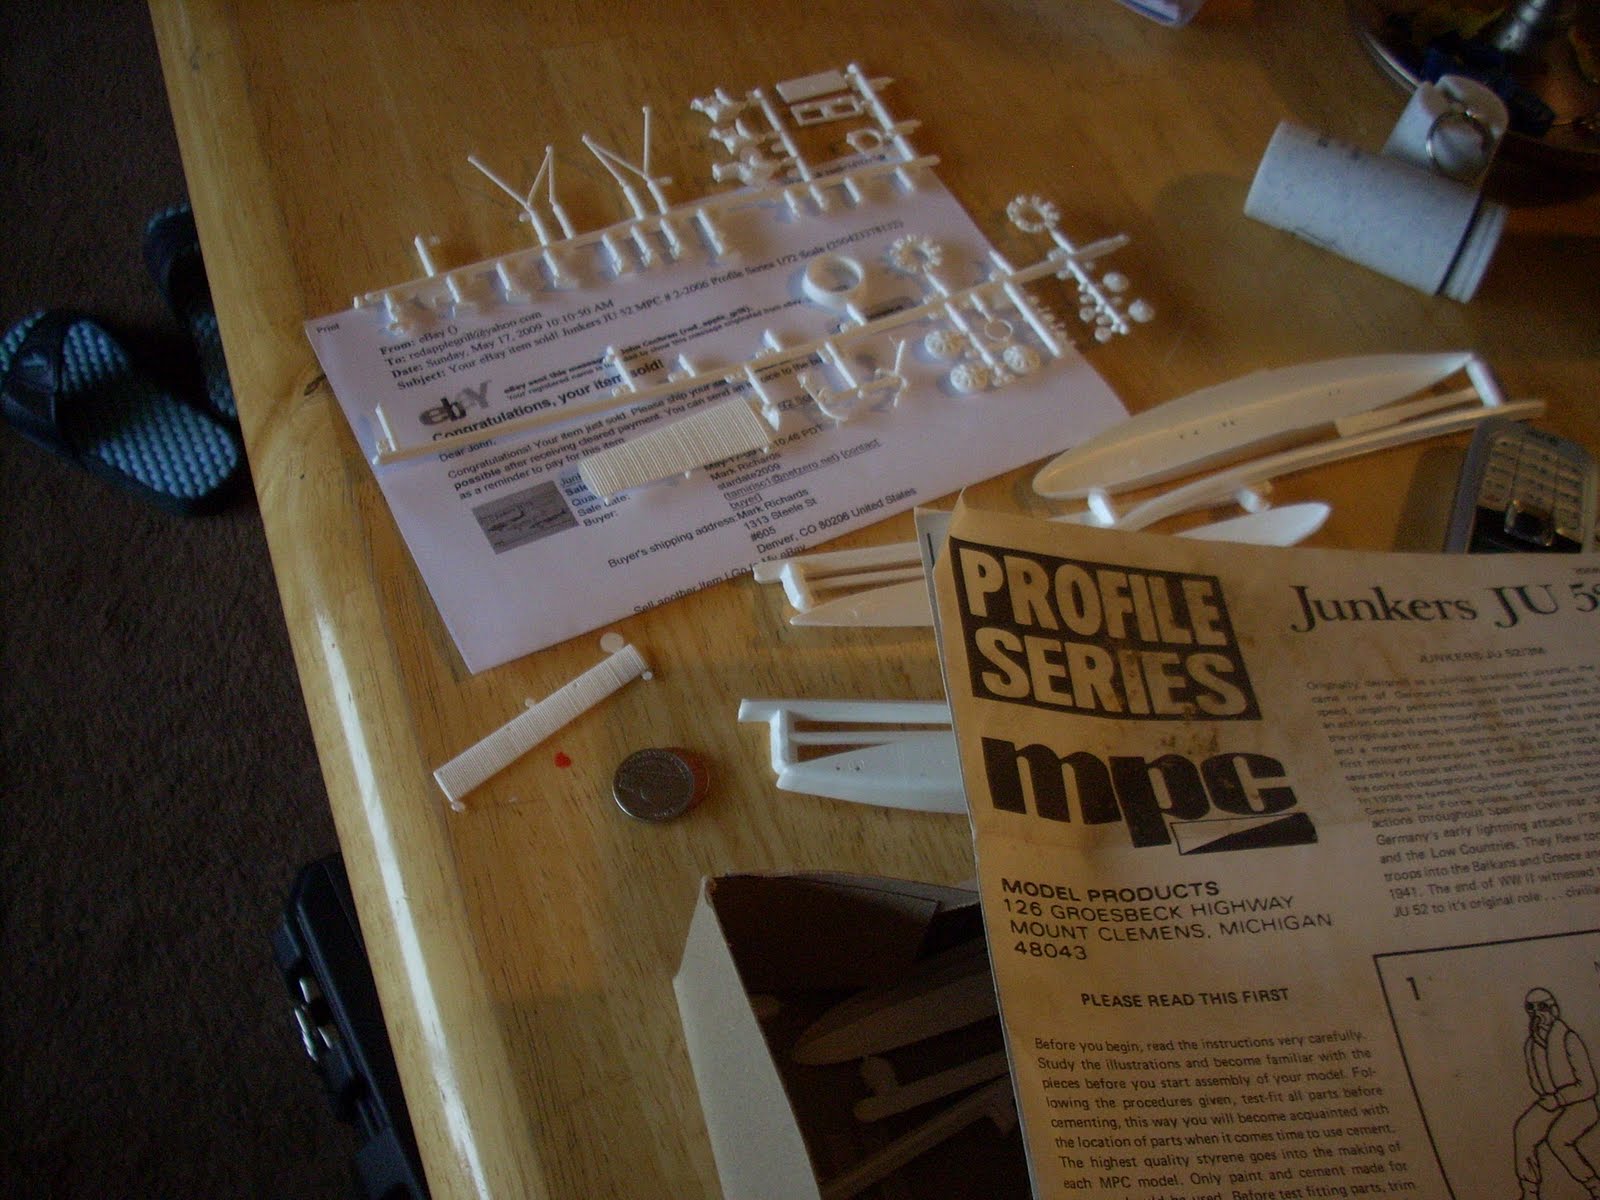
An example with me, when I got my mpc JU-52 several months back, I looked at it and thought I remember there being a version of the Ju-52 in North Africa, and yet the kit had no such markings or paint schemes. I went on line and searched hard and long, and I found not just a paint scheme for the model, serving in Italy in 1943, but I found photos of the interior, which helped me do some interior painting and detail work on the 40 year old model.
Because of the time I spent on researching the Ju-52, it is one model that looks more real than most. Now I am still scrounging decals for it, but that too is part of the fun

Below, another look at the parts right out of the box, and those instructions that were simple to follow
A look at the early work on the paint scheme, note I pre paint the model before assembly. This way I can work on it while it is still flat, so to speak. \B
\B
 \B
\BBelow is a beautiful photo showing the paint scheme from the rear view of this model. You can see some of the detail coming out in the paint scheme from this angle.
 Last photo of the finished product, this shows all the work done to bring this model to life by doing the research and taking time. Do not rush, and remember even if a part can't be seen once it is inside, if you added the detail you know it's there and adds to the realism of the kit. You will notice that the wheel on the left landing gear isn't straight. This was because when mpc produced this kit in the late 1960's the landing gear assembly was not molded correctly and never in the production runs was the mistake corrected.
 Last photo of the finished product, this shows all the work done to bring this model to life by doing the research and taking time. Do not rush, and remember even if a part can't be seen once it is inside, if you added the detail you know it's there and adds to the realism of the kit. You will notice that the wheel on the left landing gear isn't straight. This was because when mpc produced this kit in the late 1960's the landing gear assembly was not molded correctly and never in the production runs was the mistake corrected.
No comments:
Post a Comment